

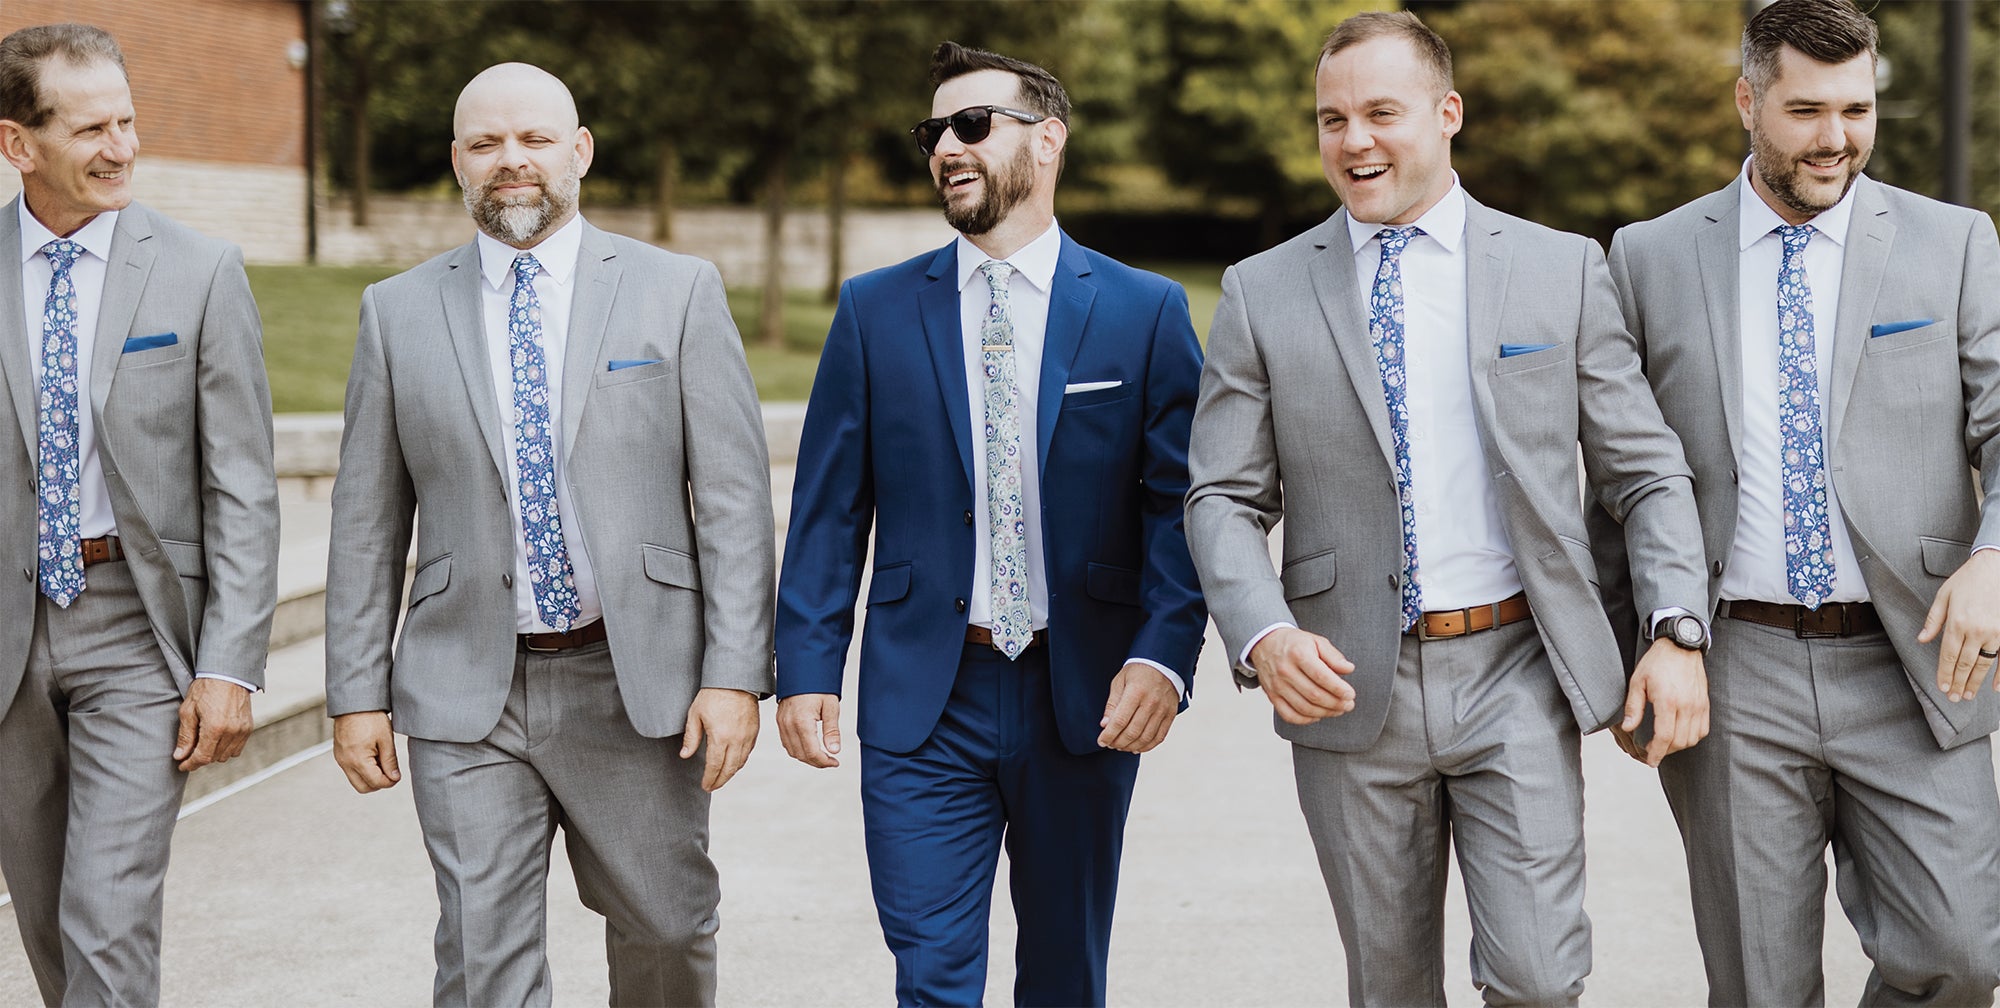
Pocket squares are the perfect way to add a splash of personality or elevate any suit or tuxedo, whether you're attending a more casual get together or a formal event.
If you are like many suit jacket wearers, you might find yourself staring at that small piece of fabric, wondering how to fold it just right. Don't worry, we've got you covered!
This comprehensive guide will teach you how to fold a pocket square for any occasion, so you'll always look effortlessly stylish.
Our Top Five Pocket Square Folds
There are many ways to fold a pocket square but in this guide, we'll focus on the most popular folds for our single-sided pocket squares. These folds are designed to hide the unprinted side of the square for a seamless look. We've also included the best fold for designs with a single logo, graphic, or image.
Whether you'll be wearing the pocket square in a casual or formal setting, we've provided five of the best folding options with step-by-step instructions to help you master each one.
casual to semi-formal
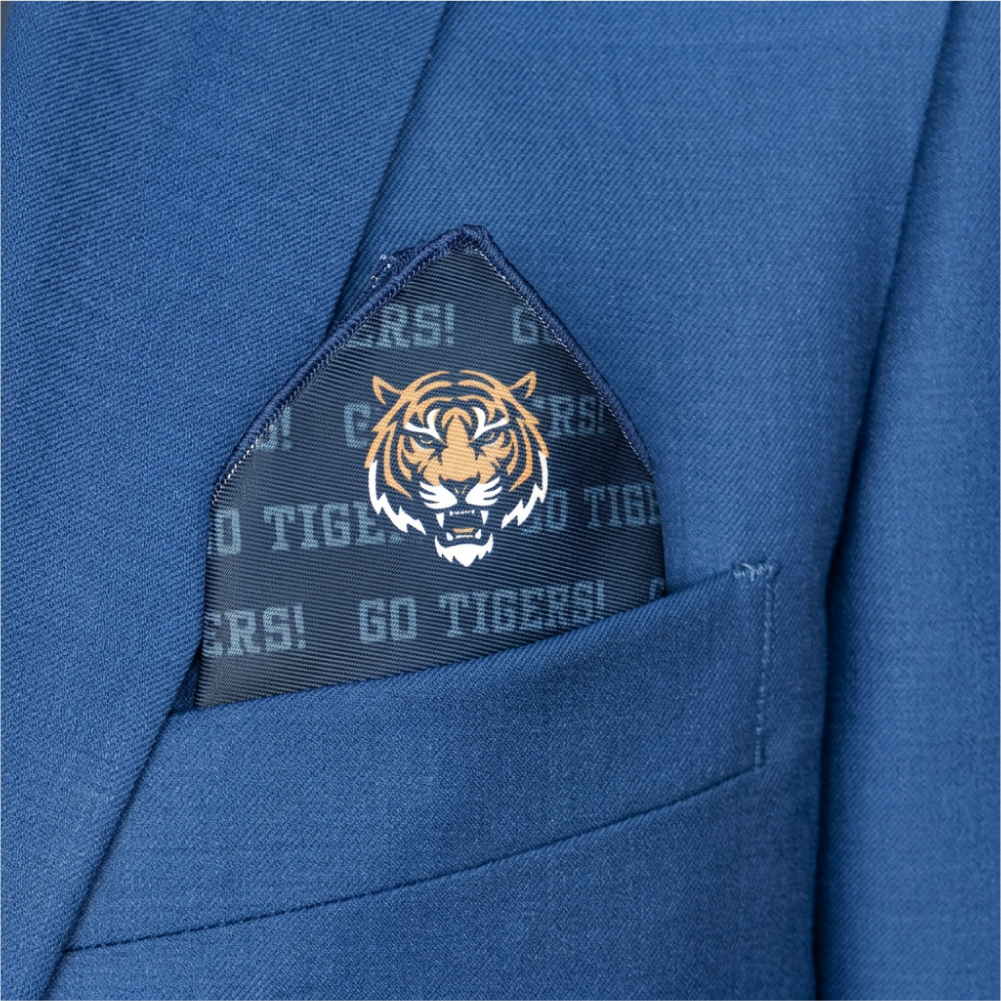
One Point Fold
The One Point Fold offers a sophisticated look that's easy to master. It adds a subtle peak that can make your outfit stand out. Whether your pocket square is solid colored or patterned, or features a corner graphic, logo, or image, the one point fold is a classic look.
This fold is a great choice for casual and semi-formal events, and can be worn with both suits and sport coats. This simple fold is also a safe option for large wedding parties if you want everyone to look uniform.

How To Fold A One Point Pocket Square

Step 1: Lay it flat
Place the pocket square on a flat surface with the unprinted side facing up, positioned as a diamond (a square rotated 45°, with one point facing you). If it has a logo, image or text you want featured on the point, position that detail at the top corner, face down, before you start folding.

Step 2: Fold in half diagonally
Bring the bottom point up to meet the top point, folding the square into a triangle. Smooth out any wrinkles so the edges line up cleanly.

Step 3: Square off the left side
Fold the left corner about three-quarters of the way over towards the right corner.

Step 4: Square off the right side
Then fold the right corner over towards the left side. Since this pocket square is relatively large, there may be fabric that sticks out past the edges. Tuck the excess fabric behind and out of the way.
Check the width as you go: the folded width should end up slightly narrower than your pocket, so it slides in easily without bunching at the sides.

Step 5: Fold up the bottom edge
Fold up the bottom edge to shorten the square’s overall height. How much you fold depends on your pocket’s depth. Aim for the finished fold to sit an inch or two taller than your pocket to showcase the one point pocket square nicely. Flip the pocket square over to reveal the finished fold.

Step 6: Insert into pocket & fine-tune
Place the folded square into your breast pocket with the single point facing up and slightly angled, letting a bit of it peek out above the pocket edge. Pro tip: A slight, natural lean often looks more elegant than a perfectly straight point.
smart casual to formal
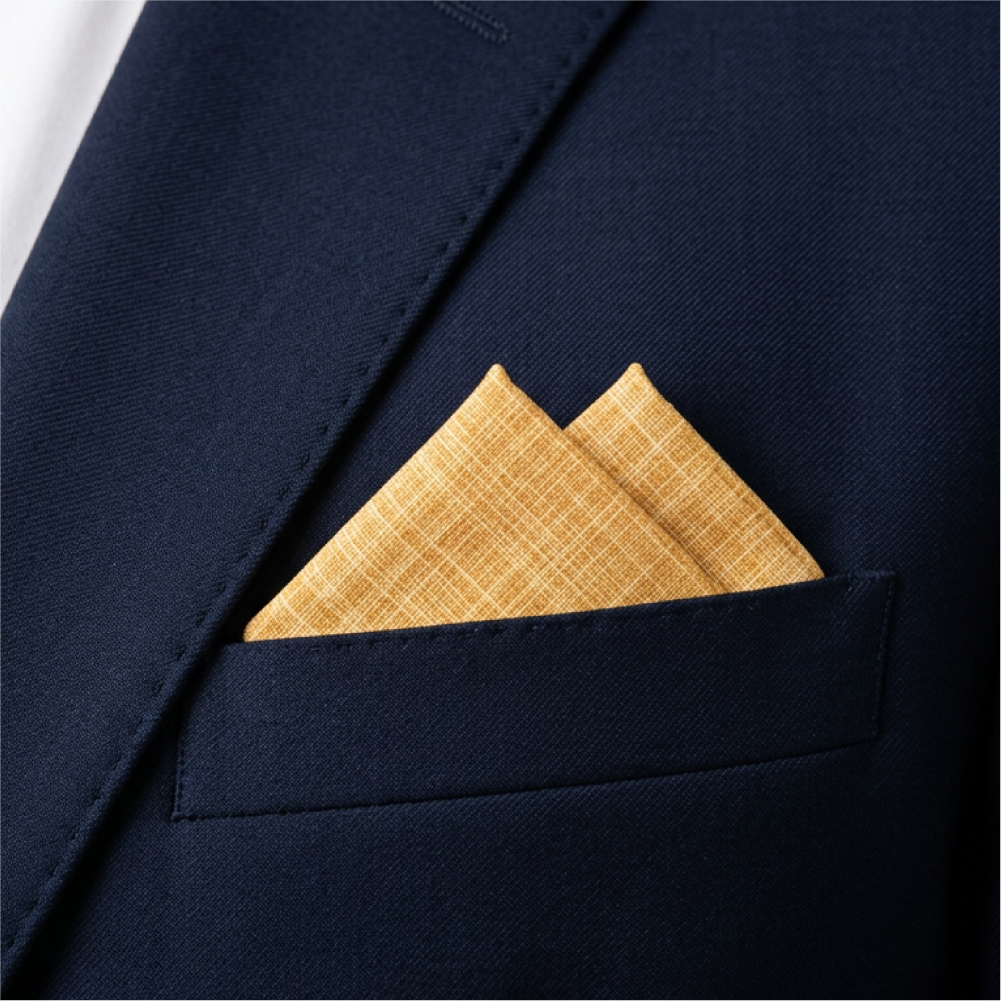
Knotty Two Point Fold
Our unique take on the Two Point fold mimics the look of a classic two peak pocket square fold, but unlike the original, this version hides the unprinted side of the pocket square. It works well on both solid or patterned pocket squares, adding an extra level of sophistication to any outfit.
This fold is an excellent choice for more formal events, like weddings and black-tie affairs, giving a polished, elegant look. We do not recommend the Knotty Two Point Fold if you want to showcase a single-placed graphic, logo, or text, but it’s a beautiful way to display a pattern, abstract design, or solid color.

How To Fold A Knotty Two Point Pocket Square

Step 1: Lay it flat
Place the pocket square on a flat surface, unprinted side up, in a diamond orientation (a square rotated 45°, with one point facing you).

Step 2: Fold in half
Bring the bottom point up to meet the top point, folding the square in half forming a triangle.

Step 3: Fold in half again
Then take the left point of the triangle and fold it over to meet the right point, forming an even smaller triangle. Smooth out any wrinkles so the edges line up cleanly between folds.

Step 4: Make an intentionally off-center fold
Find the lower-left corner of the triangle and place a finger about one inch above the corner. This marks an imaginary horizontal line you will use for your next fold. With your other hand, take the top-left corner and fold it down towards the bottom right, bringing the horizontal edge of the fold down to meet the imaginary line where your finger is. You will now see a triangle shape sitting above a narrow, one-inch rectangle of fabric.

Step 5: Fold in half once more
Fold the left corner over to meet the right corner, lining up the corners as cleanly as possible.

Step 6: Rotate then flip it over
Rotate the folded square clockwise so the stitched, long edge is at the bottom, facing you. The peak should now be pointing up and away from you.
Now flip the entire pocket square over horizontally. This will help the peaks look even and will help you define them in the next step.

Step 7: Define the peaks
At the top, you will see two folded fabric peaks neatly stacked on top of each other. Gently wiggle and pull them apart until you like the spacing of the peaks. These are what you’ll be showcasing in your pocket.

Step 8: Square off the sides
Fold the left and right corners behind the peaks adjusting the width to fit your breast pocket.

Step 9: Place in pocket & fine-tune
Insert it into your breast pocket with the two points facing up, letting them peek out above the pocket edge. Adjust the pocket square and each peak with your fingers so the layers stay crisp and evenly spaced.
smart casual to formal
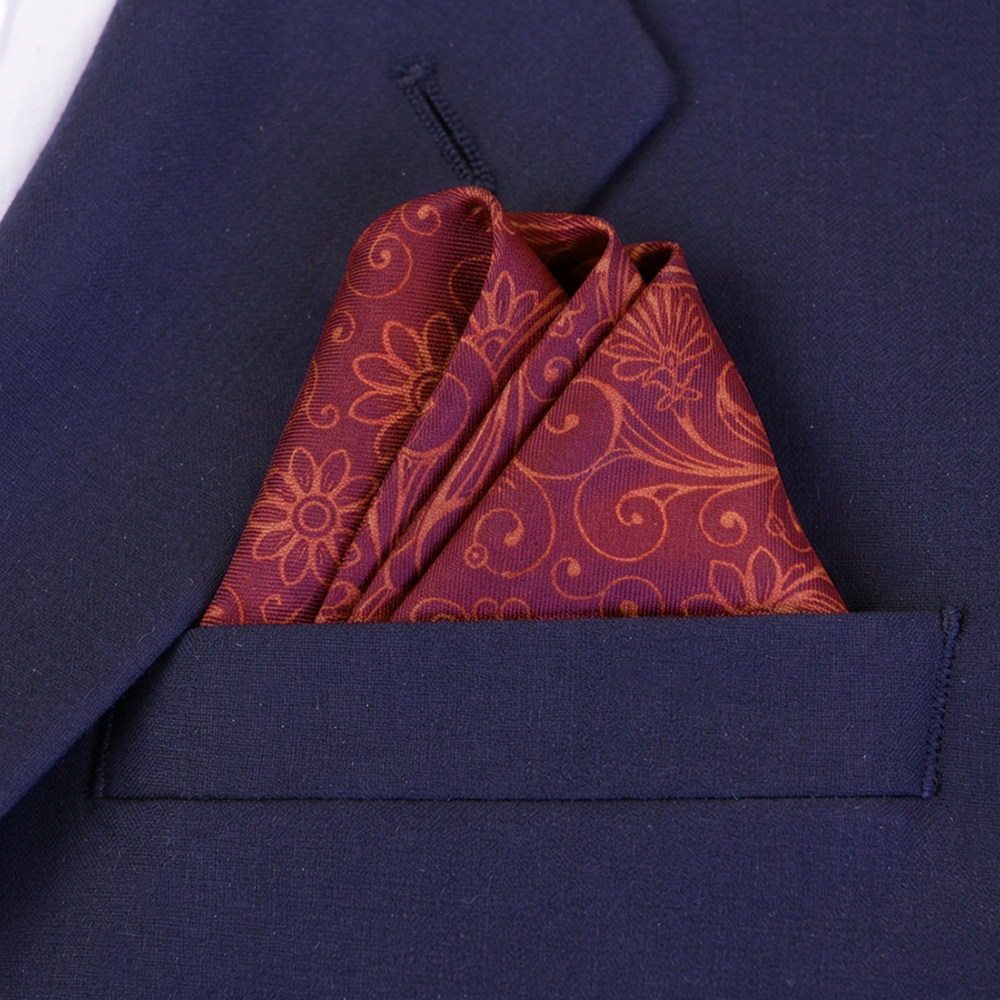
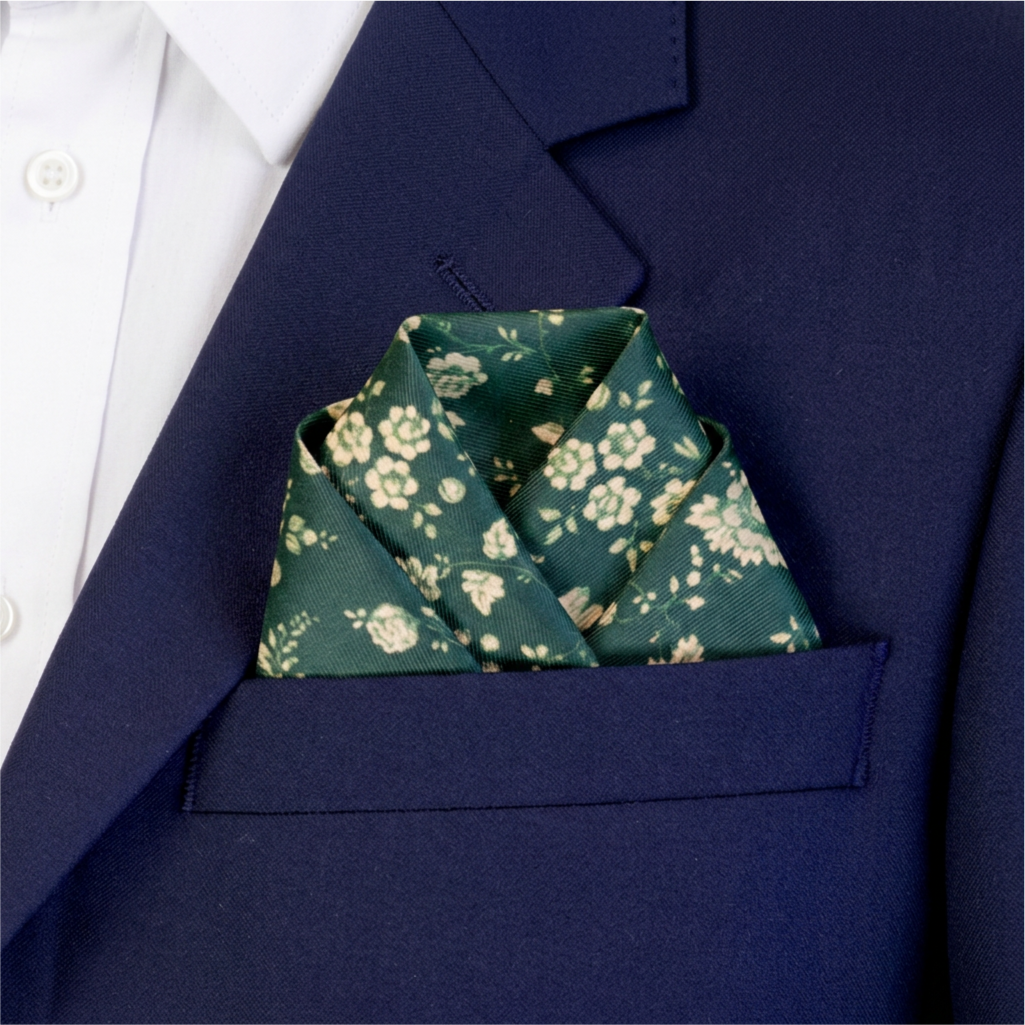
Wave Fold
The wave fold is a stylish, multi-layered pocket square technique that creates more volume and texture than the more formal Stairs Fold (tutorial below). Elegant but a touch playful, it’s a great choice for cocktail parties, weddings, date nights, or smart-casual events like a nice dinner or gallery opening.
It works especially well with patterned pocket squares, and when placed into a well-fitted suit or sport coat, it adds an extra punch of personality and texture without looking overly formal or stiff. It's generally not the fold you'd reach for in a strict black-tie or high-stakes business setting. It’s also not the right fold to showcase a single-placed logo, graphic or text on the corner of the pocket square.

How To Fold A Wave Pocket Square

Step 1 : Lay it flat
Place the pocket square on a flat surface with the unprinted side up, positioned as a diamond (a square rotated 45°, with one point facing you).

Step 2: Fold in half diagonally
Bring the top point down to meet the bottom point, folding the square into a triangle. Smooth out any wrinkles so the edges line up cleanly.

Step 3: Fold in half two more times
Bring the right point over to meet the left point. Then fold it in half once more by bringing the bottom-right point over to meet the top-left point.

Step 4: Fold to create the front waves
You now have three layers that will become your waves. Take the top-right corner of the triangle and fold it down to meet the bottom point.

Step 5: Fold to create the back waves
Then do the same with the left corner, but fold it the opposite direction towards the back of the square. Pinch the fabric together at the bottom to hold both the front and back folds in place. Both the front and the back of your fold should now look identical.

Step 6: Fine tune & insert into pocket
Gently separate the top folds and adjust the fabric to create three “waves.” Pro tip: Slight asymmetry is part of the appeal here, rather than a rigid, symmetrical shape.
Place the bottom point down into your breast pocket first, letting the waves fan out above the pocket line.
semi-formal to formal
Scallop Fold
The Scallop Fold is perfect for anyone who wants to make a bold statement. It works great with non-directional patterns, like solids, dots, textured designs.
This fold is ideal for the most formal of occasions, weddings included, ensuring you stand out in any crowd. Just keep in mind that its complexity makes it less practical for everyday wear. It's best reserved for occasions where you have time to practice a few times to get the folds just right. It's a striking choice for black-tie events, formal weddings, and galas, where the extra visual detail elevates a classic suit into something more memorable.

How To Fold A Scallop Pocket Square

Step 1: Lay it flat
Place the pocket square on a flat surface with the printed side up and facing you, positioned as a diamond (a square rotated 45°, with one point facing you).

Step 2: Create a front pleat
Locate an imaginary horizontal line about two inches below the diamond’s center. Using both hands, one on each side of the diamond, pinch the fabric along this line and fold it up to create a one-inch pleat. You should now have a small triangle pointing down (the top layer of fabric) and a large triangle pointing up, overlapping at the pleat.

Step 3: Pinch and fold behind to create a back pleat
Locate another imaginary horizontal line about one inch above the pleat you just created. Using both hands, one on each side of the top triangle, pinch the fabric along the new line and fold the top triangle behind the bottom triangle to create a second one-inch pleat.

Step 4: Flip it over
Flip the entire pocket square over horizontally, being careful to maintain the pleats you just created on both sides.

Step 5: Fold the right side
Bring the right corner down at a 45-degree angle to meet the bottom point. The right side edges do not have to be lined up perfectly.

Step 6: Fold the left side
Then do the same with the left corner, allowing it to overlap the right corner’s fold. You should now see the scallop design at the top of the pocket square.

Step 7: Square off the sides
Fold the bottom edge behind the scallop fold to shorten the square. Tuck the left and right sides behind to square off the edges. Make sure the resulting pocket square fits the size of your jacket pocket. If not, make minor adjustments to make a smaller square.

Step 8: Place in pocket & fine-tune
Place it into your breast pocket with the scallop facing up, letting it peek out above the pocket edge. Adjust the square until it’s parallel with the top of your pocket, for a formal, put-together look.
semi-formal to formal
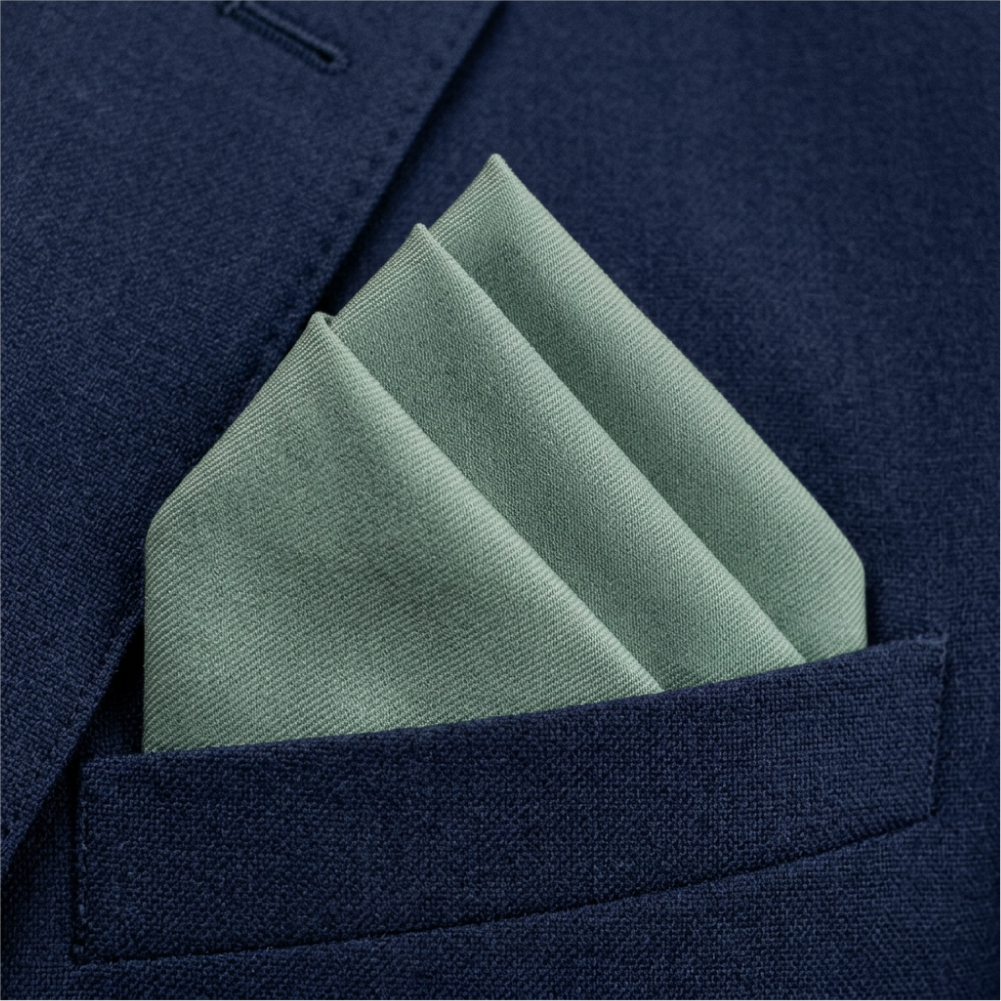
Stairs Fold
The Stairs Fold the most complex, but also the most impressive. It has a layered, architectural appearance, with "steps" that fan out from the pocket in an elegant, uniform way.
The sleek lines of this fold work well for cocktail parties and formal events, adding a touch of creativity to your outfit. For an extra crisp look, lightly iron the square once it is folded the way you like, to give it some extra rigidity. The result is a fold that feels modern and precise, making it a natural fit for sharply tailored suits, business formal events, or any look where clean geometric lines are the goal.
We do not recommend the Stairs Fold if you want to showcase off a single-placed photo, logo, or text on your pocket square, but it’s a beautiful way to display a pattern, abstract design, or solid color.

How To Fold A Stairs Pocket Square

Step 1: Lay it flat
Place the pocket square on a flat surface with the unprinted side up, positioned as a diamond (a square rotated 45°, with one point facing you).

Step 2: Fold in half diagonally
Bring the bottom point up to meet the top point, folding the square into a triangle. Smooth out any wrinkles so the edges line up cleanly. This folded bottom edge will become the first of your three stairs, so keep it crisp.

Step 3: Create the stairs
To create the three stairs, we will make four folds, alternating down and up like an accordion.
Find the center of the triangle’s bottom edge and place a finger about two inches above the bottom fold. This marks an imaginary horizontal line you will use in the next “down” folds.

Step 4: Fold 1 (down)
With your free hand, grab only the top layer of fabric from the top point. Bring that top point down past the bottom edge, folding the top layer along your imaginary horizontal line (about two inches from the bottom). You will now have the top layer folded down into a small triangle.

Step 5: Fold 2 (up)
Take that same point (now pointing towards you) and fold it back up along a new imaginary fold line about a half inch above the bottom edge.

Step 6: Fold 3 (down)
Fold the same, top point down again along the original horizontal line that’s about two inches from the bottom edge.

Step 7: Fold 4 (up)
Fold the same point (currently pointing towards you) back up along a new imaginary fold line about one inch above the bottom edge. At this point you should see three evenly spaced stairs.

Step 8: Flip it over
Use both hands to firmly hold the pleated folds in place, and flip the entire pocket square over.

Step 9: Fold in half
Fold the right corner over to meet the left. Make minor adjustments to line up the corners.

Step 10: Rotate it
Rotate the folded pocket square so that the stairs are pointing up and the longest edge is at the bottom.

Step 11: Square off the sides
Fold the left and right corners behind to square off the sides. Fold the bottom fabric behind and size it to your pocket. Note: the unprinted portion of the pocket square that is currently visible will be hidden inside your pocket.

Step 12: Insert into pocket & fine-tune
Place the folded square into your pocket with the staircase steps facing up and visible, so the layered edges show clearly above the pocket line. Gently press or adjust each step with your fingers so the layers stay crisp and evenly spaced, giving a clean, geometric staircase effect.
Here are some handy tips to ensure your pocket square looks its best:

Iron Out Creases
A crisp pocket square is essential for a polished look. Iron out any creases and wrinkles before folding it to ensure a smooth finish.

Lay It Flat
Always start with a hard flat surface when folding your pocket square. This ensures clean, crisp folds.

Avoid Adding Bulk
Your pocket square should fit neatly in your pocket without adding extra bulk. Keeping your folds neat and tidy throughout the entire pocket square folding process will avoid an overstuffed look.
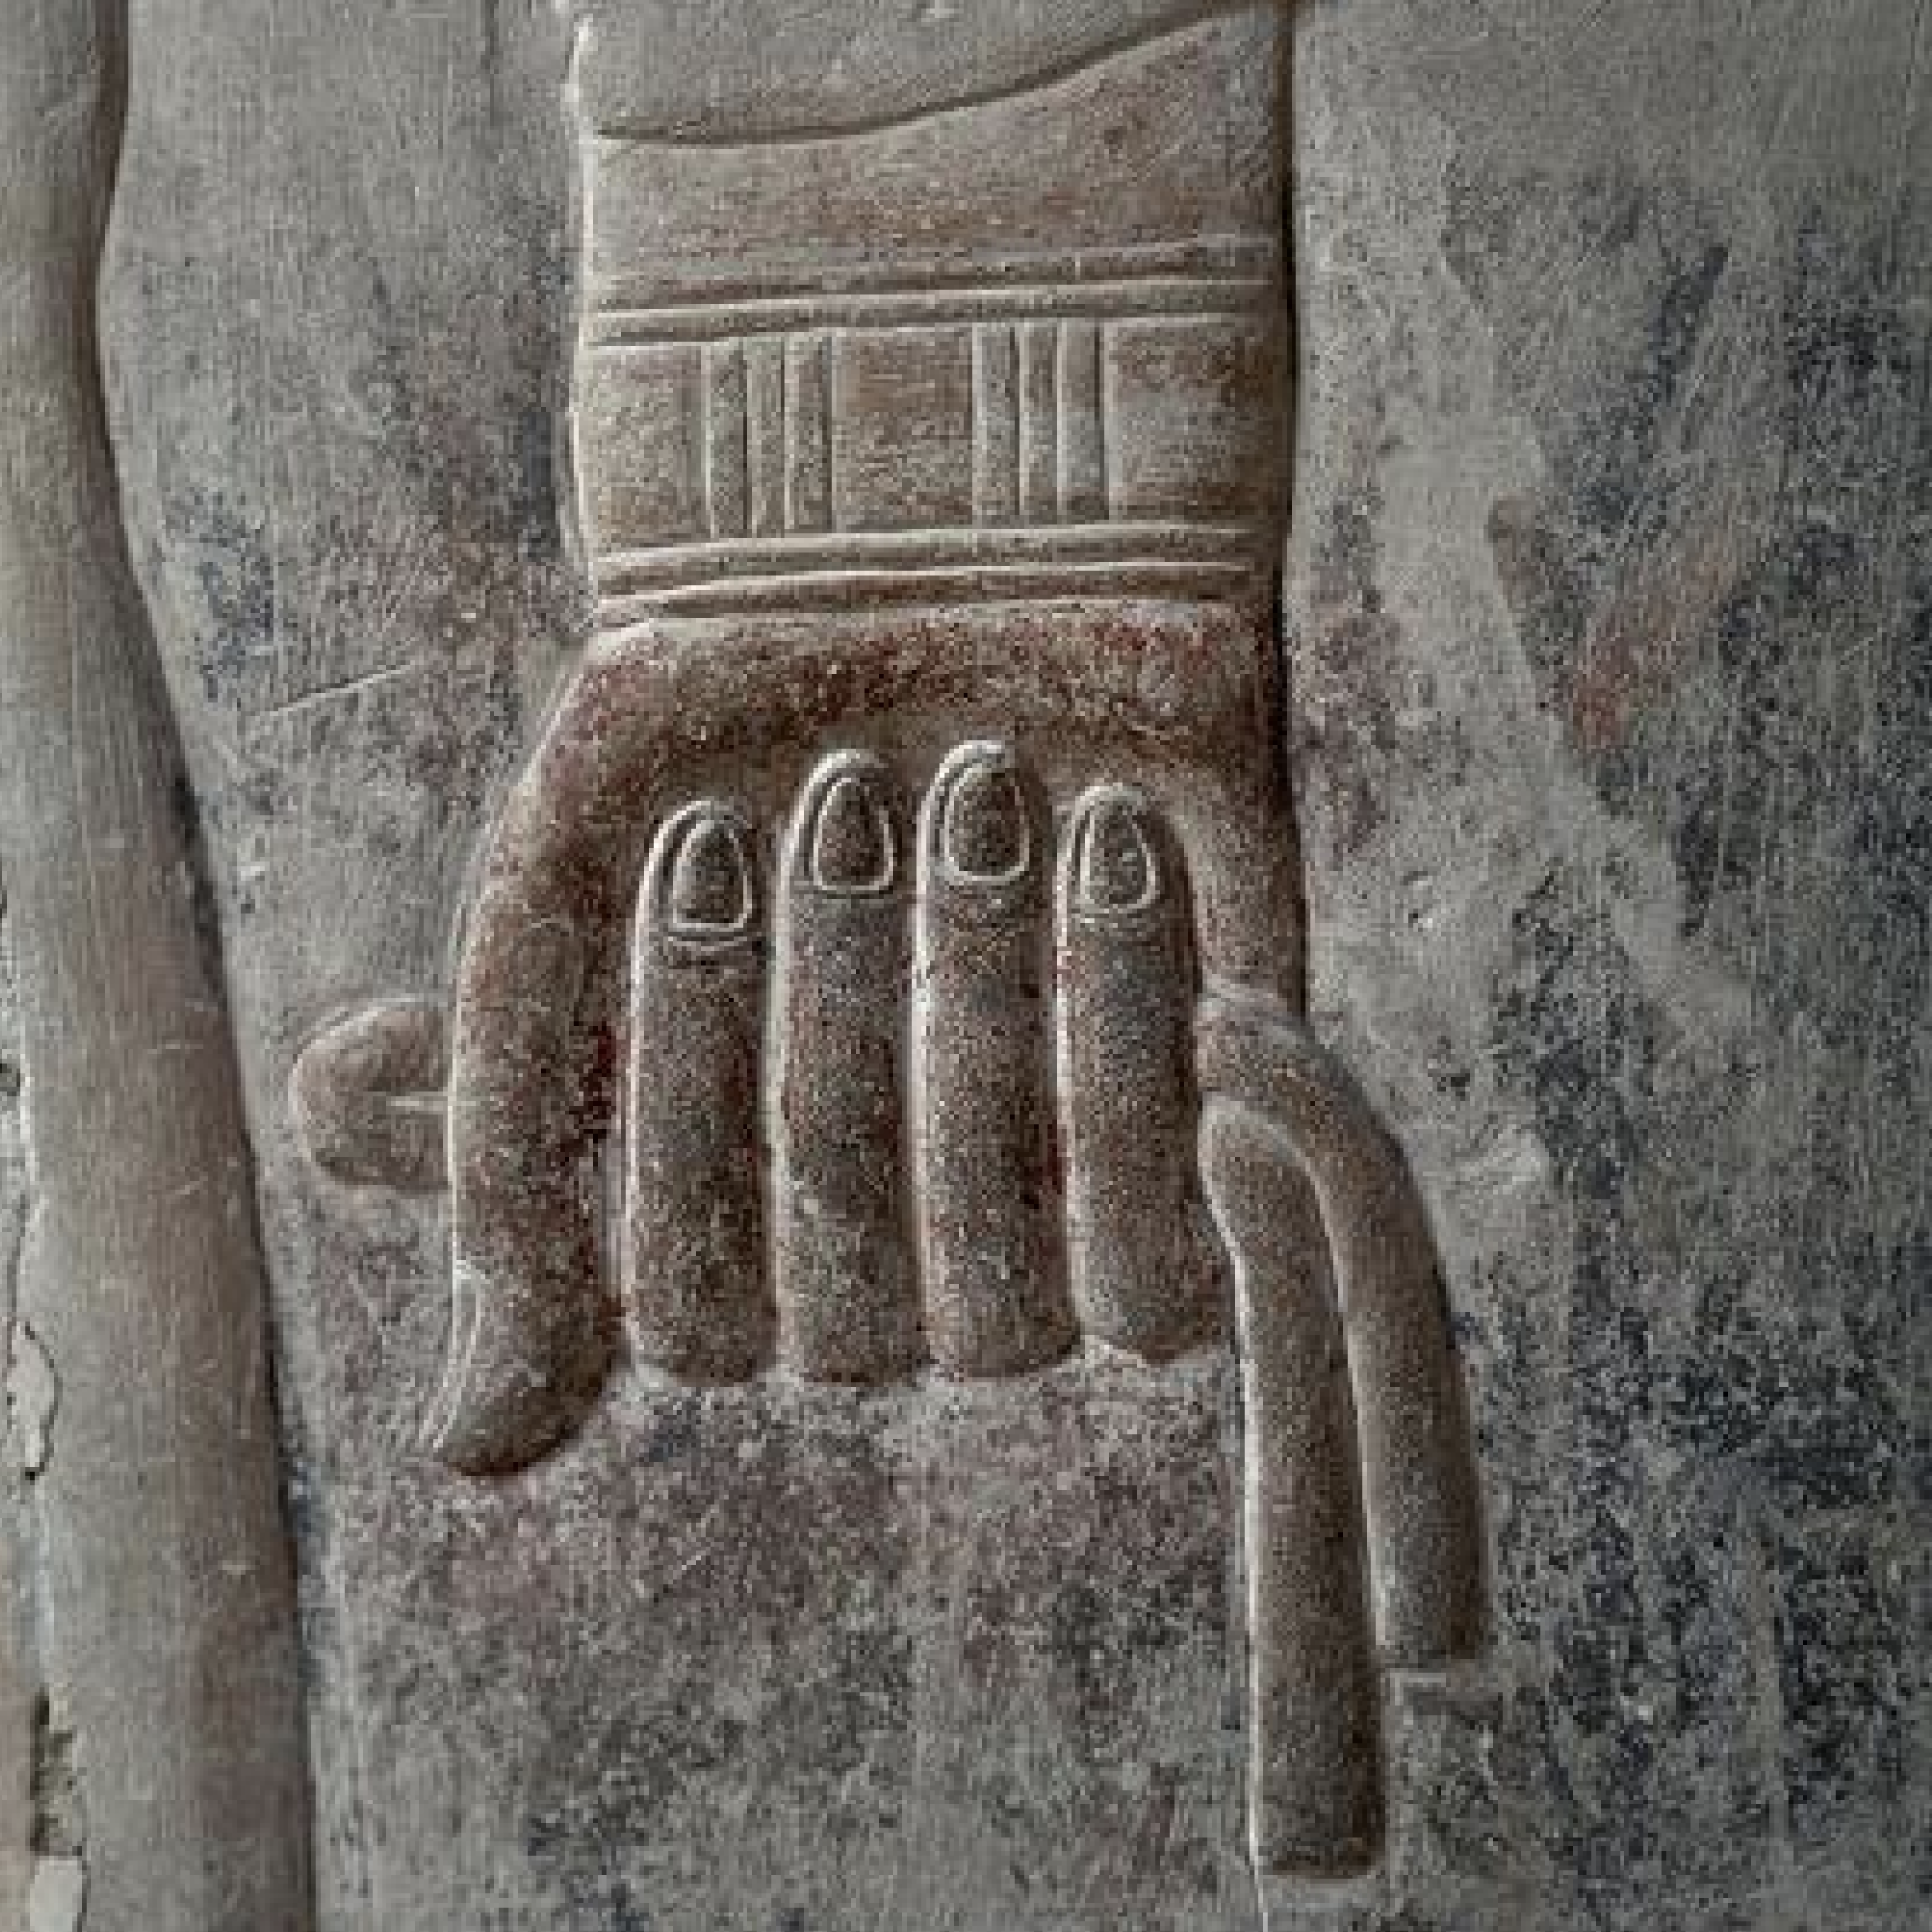
Pocket squares have been a staple of men's fashion for centuries. Originally used by the Greeks and Egyptians, these small pieces of cloth served more practical purposes, such as hygiene or protection against the elements. The modern pocket square reached its heyday in the early 20th century, becoming an essential element of men's fashion. Today, it remains a versatile and stylish accessory and an important way to communicate your personal style. A well-folded pocket square is a sign of great attention to detail and can leave a lasting impression!
Whether you’re dressing for a more casual outing or a formal event, knowing how to fold a pocket square correctly is a valuable skill. By following the steps outlined in this guide, you’ll be able to master the art of pocket square folding and make a lasting impression. Spend some time experimenting with different folds to find the ones that suit your style best.
And remember, when you start with a custom pocket square in customized colors that perfectly complement your outfit, you'll be getting compliments regardless of how well you fold it!


