

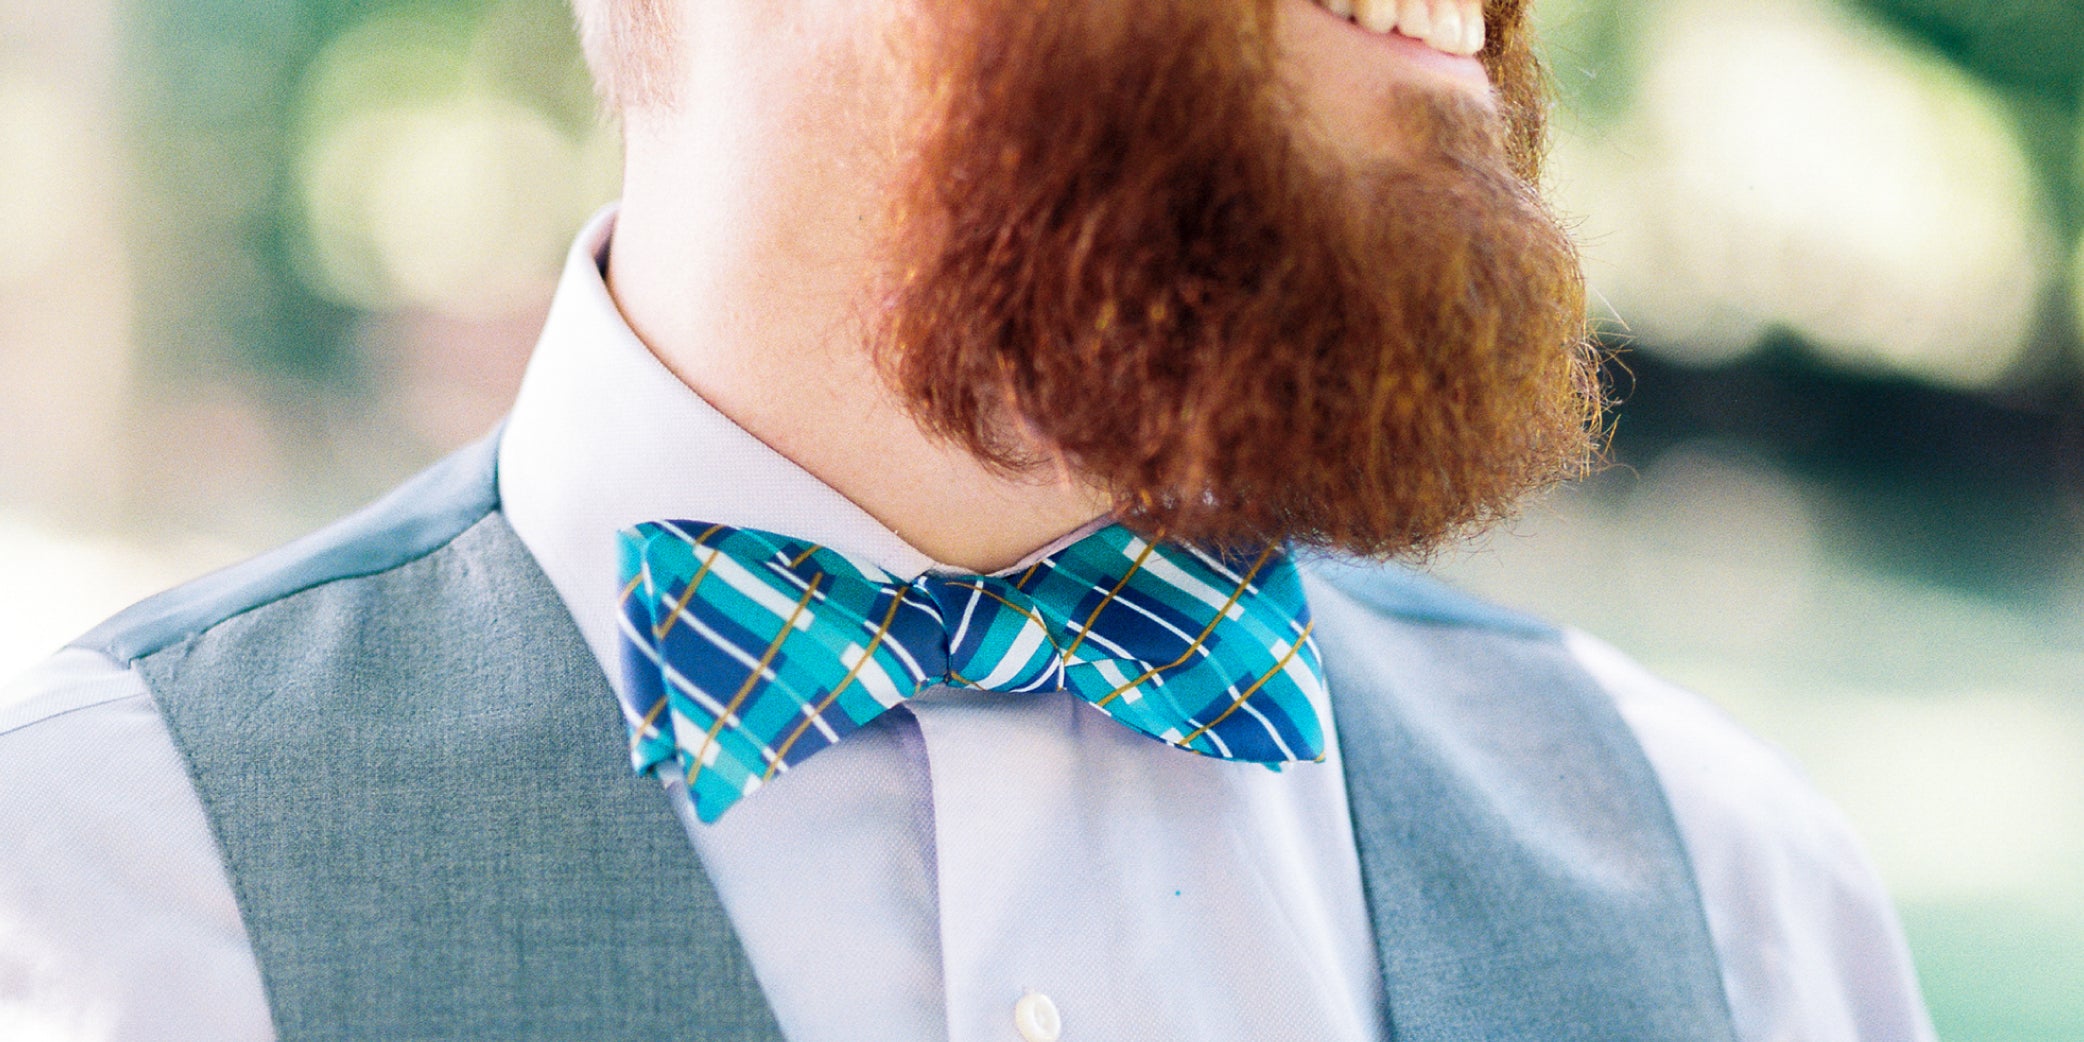
Tying a bow tie is a skill that every bow tie wearer should have in their back pocket. While it might seem impossible at first, mastering this technique will not only impress but is sure to come in handy at many events like weddings, galas, and formal dinners. Plus, it's a fantastic party trick!
Ready to learn?
Remember, practice makes perfect, so try not to get discouraged!
Below, we'll walk you through the step-by-step of how to tie your self-tie bow tie:
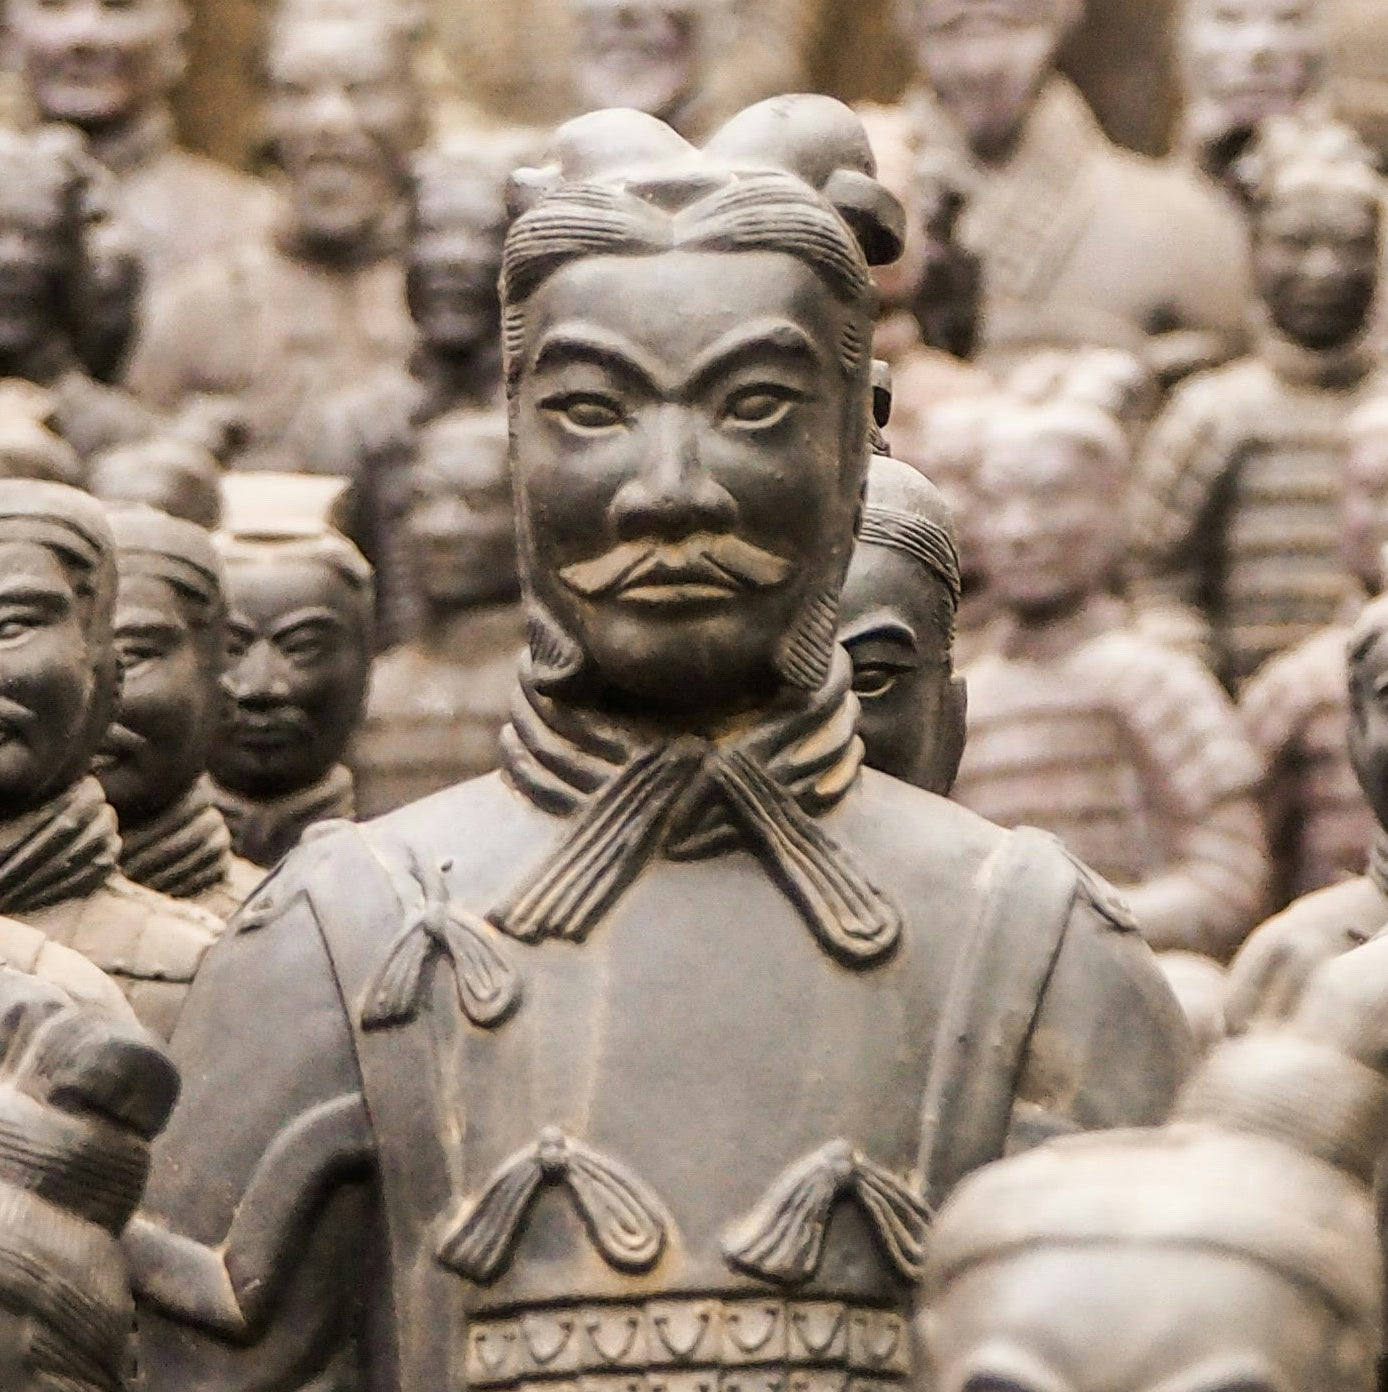
The bow tie has a rich history that may date back to the famed terracotta warriors of the Qin Dynasty in China, buried in 210–209 BCE. These sculptures were adorned with broad scarves around their necks. Later, in the 17th century, Croatian mercenaries caught the attention of French aristocracy with their distinctive neckwear. Adopting this style, the French transformed it into the "cravat", and then it is said to have evolved into the bow tie we recognize today.
It is uncertain whether the cravat then evolved into the bow tie and necktie or whether the cravat gave way to the bow tie, which in turn led to the necktie. Nonetheless, the bow tie has continued to evolve, maintaining its elegance and becoming a symbol of sophistication.
Butterfly style
The standard butterfly style bow tie is perhaps the most recognized shape within the bow tie family, which is why it's our signature here at Knotty Tie. It's also been called the "thistle" and provides a classic look featuring wings that create a substantial and striking appearance once tied. The ideal bow tie style for formal occasions and events, if we do say so ourselves!
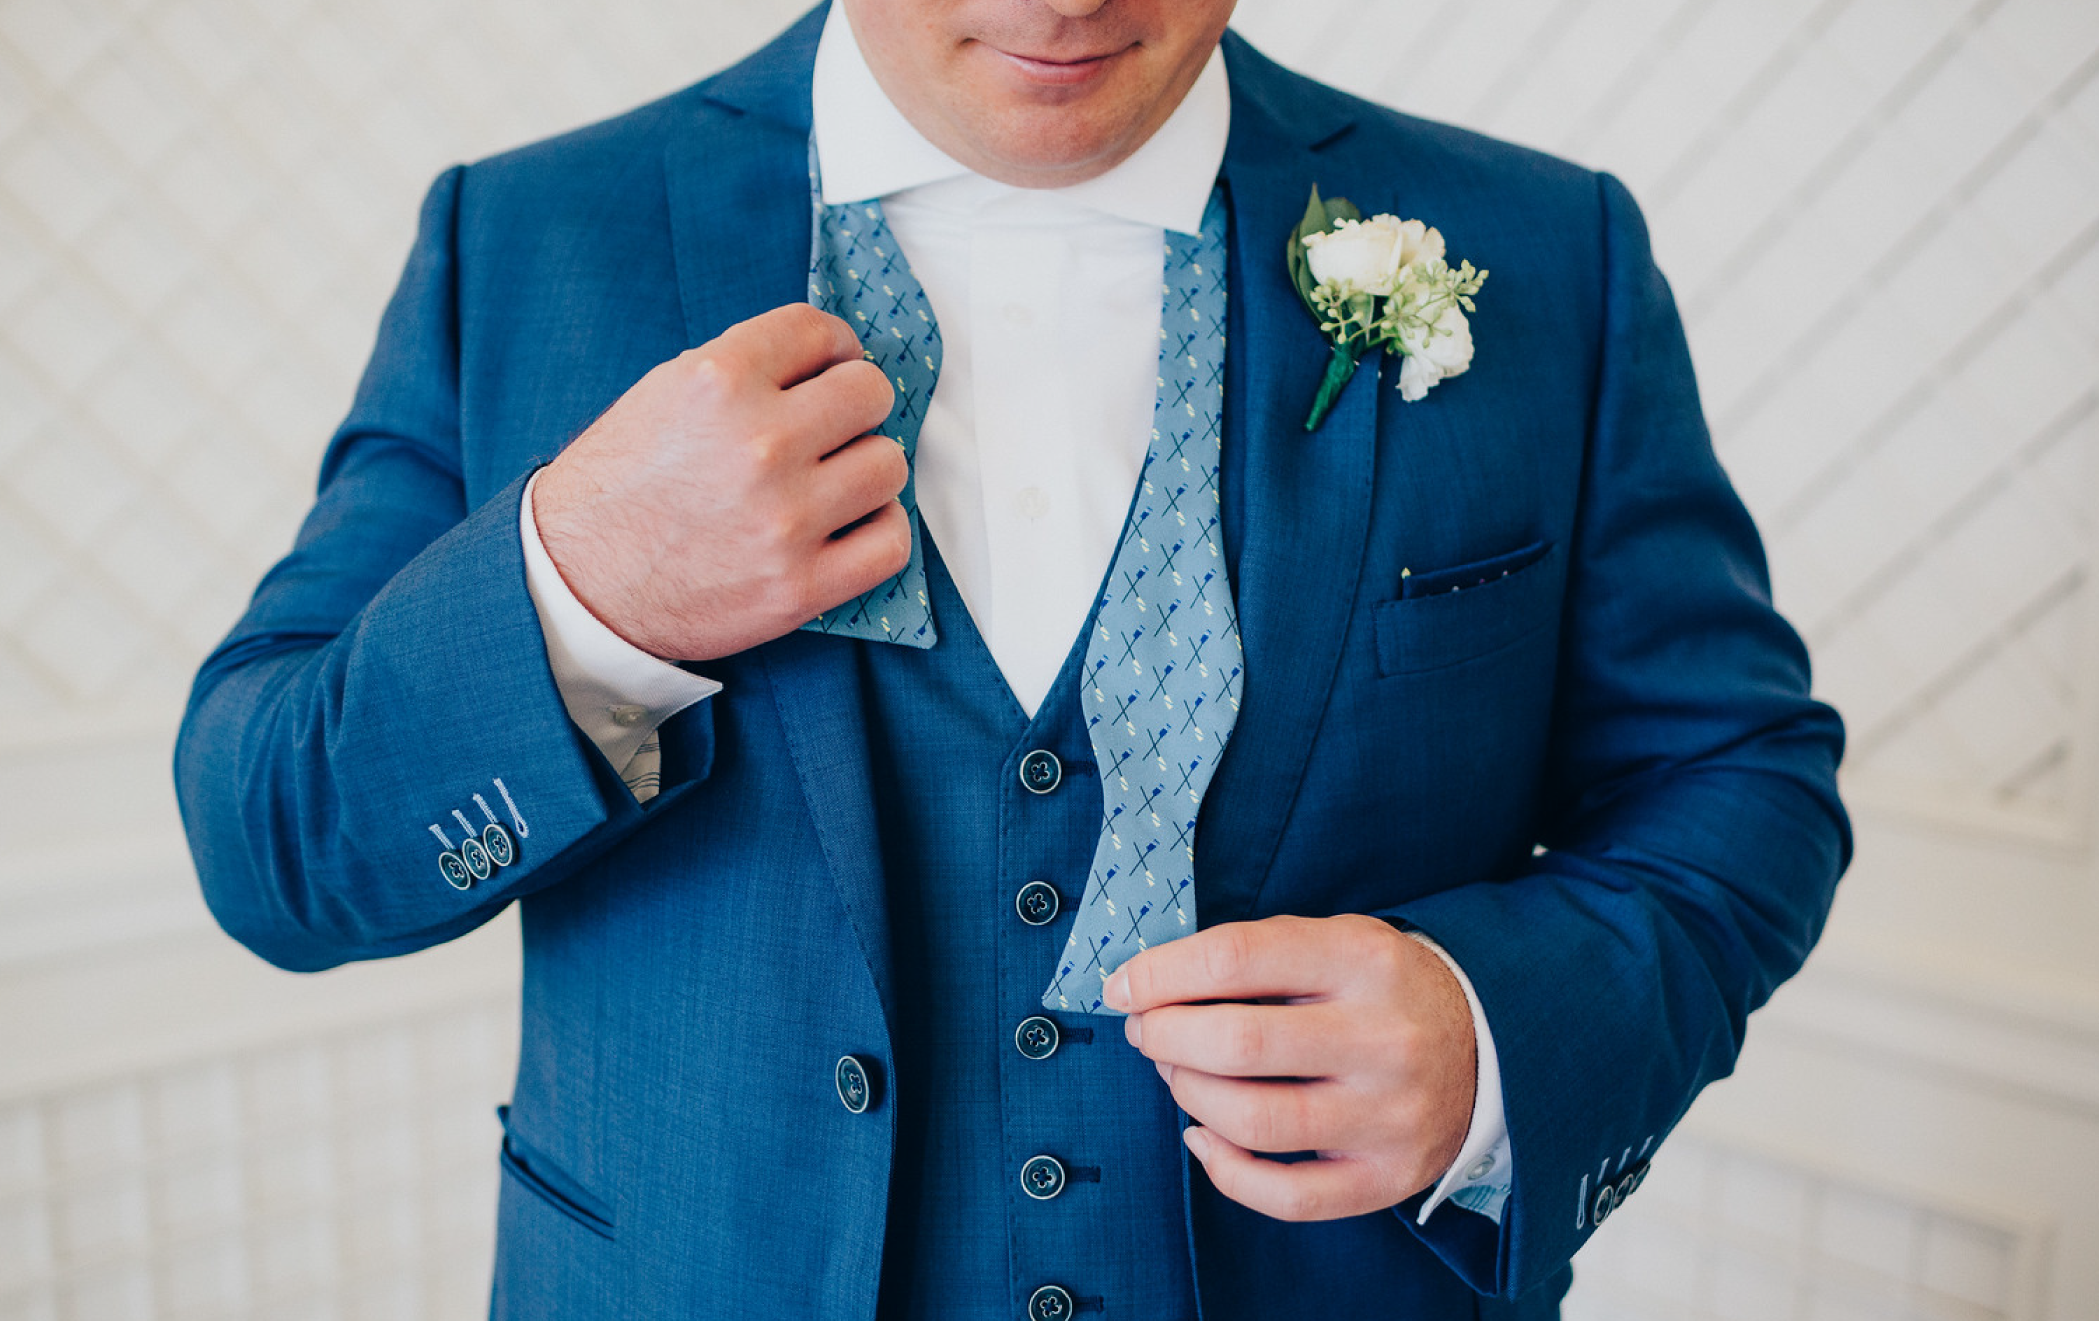
How to tie a bow tie
Start with the bow tie around your neck
Adjust so one end is longer than the other by about an inch or two.
Cross the longer end over the shorter end
Bring the longer end up through the loop between your collar and tie, creating a simple knot.
Form the front loop
Fold the shorter end into a bow shape. This will be the front of your bow tie.
Drop the longer end over the bow.
Hold the bow shape you’ve created and drape the longer end over the middle.
Create a second loop
Fold the dangling end back on itself and push it through the loop behind the bow you have formed in step.
Adjust to perfection
Tighten by tugging at both ends of the bow and adjusting until balanced. The fabric should sit flat, with minimal creases or twists, and both sides of the bow being even.
To tie or knot to tie...
If you're not quite ready to make the leap into tying your own bow tie, we do offer pre-tied bow tie options for adults and kids. These are perfect for when you're short on time and still want to maintain that polished look. Our pre-tied bow ties are designed to mimic the look of a self-tied bow tie, so it will be hard for anyone to tell you didn't tie it yourself!

self-tie

pre-tied
Tying a bow tie offers a personal touch to your attire, and a well-tied bow tie will always make a statement. It's certainly a valuable skill to have, however, if you decide the traditional way isn't for you, rest assured our pre-tied option is just as stylish and practical.
Explore hundreds of customizable bow tie patterns and custom monogram styles to find the perfect bow tie for your next occasion!


